
Home Assistant Weather Station – Smart Weather Data for Your Smart Home | air-Q
A smart weather station makes your smart home truly intelligent. Combined with Home Assistant, temperature, wind, and rain become valuable data for automations, such as for awnings, shutters, or heating. This article shows you the great potential of weather stations.
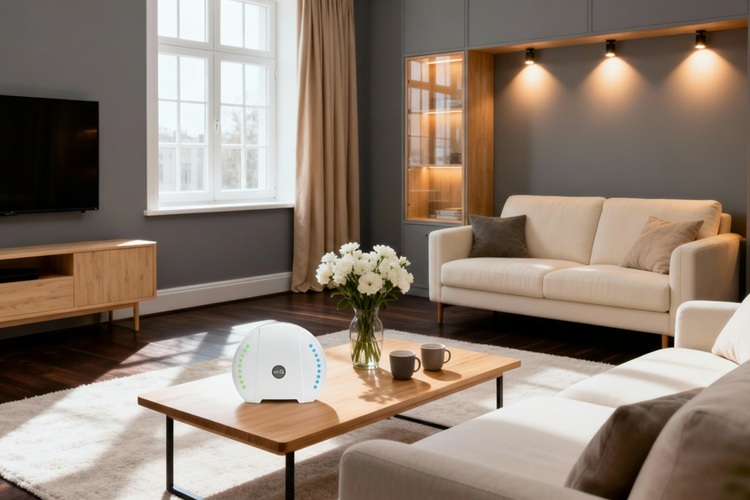
A smart weather station is far more than an outdoor sensor with a display. It provides the foundation for intelligent automations in the smart home that are based on real weather data. Combined with Home Assistant, you can use your weather station's readings in a targeted way to automatically control awnings, shutters, heating, and ventilation.
Classic wireless weather stations only display their data on a base station. When a weather station is integrated into Home Assistant, however, the values are available as sensors in the system. This lets you combine weather information with presence, calendar data, or other sensors, and your smart home responds noticeably more intelligently to its surroundings.
Why a weather station for Home Assistant makes so much sense
A weather station for Home Assistant brings outdoor and indoor climate together. For example, you can:
- control shading based on sunlight and outdoor temperature,
- automatically retract awnings in strong wind,
- reduce heating output when it gets milder outside.
A smart weather station thus increases comfort and efficiency in everyday life. All important weather data is visible centrally in the Home Assistant dashboard and can be directly incorporated into automations and scenes.
-(300-x-250-px)-(1500-x-1300-px).jpg)
What types of smart weather stations exist
Ready-made smart weather station for the smart home
Many manufacturers offer complete sets consisting of an outdoor sensor and a base station or gateway. The base is connected to the home network via LAN or WiFi. If there's a matching integration for the respective system, you can use the data directly in Home Assistant.
The advantage of such solutions lies in the simple installation and the usually stable wireless connection between the outdoor and indoor unit. However, it's important that the weather station offers an open interface (API, MQTT, or an existing integration), so it can be easily connected as a weather station for Home Assistant.
DIY weather station for Home Assistant
For technically skilled users, building your own DIY weather station is an exciting option. Sensors for temperature, humidity, air pressure, rain, or wind can, for example, be combined with an ESP32 or similar boards. The data is then often transmitted to Home Assistant via MQTT.
Such a Home Assistant weather station offers maximum flexibility and is often inexpensive to extend, for example with additional outdoor sensors or indoor sensors. At the same time, however, it requires planning, some electronics knowledge, and regular maintenance of the configuration.
Important criteria when choosing a smart weather station
For a weather station in the smart home to truly offer added value, you should pay attention to the following points when choosing one:
- Compatibility with Home Assistant
Ideally, there's a native integration, an official API, or the option to use MQTT. - Range of readings
Besides temperature, humidity, air pressure, rainfall amount, wind speed, and sunlight are useful. - Range and stability
The wireless connection between the outdoor and indoor unit should work reliably even through several walls. - Power supply for the outdoor sensor
Battery-powered or solar-powered sensors reduce maintenance effort and avoid additional cables. - Weather resistance
The outdoor sensor must permanently withstand rain, sun, and frost.
The better the data quality, the more precisely your automations can respond. For complex scenarios – such as differentiated shading – additional brightness or UV sensors are helpful.
Setting up a weather station and Home Assistant step by step
1. Install the weather station in the smart home
In the first step, choose a smart weather station that's proven to integrate with Home Assistant. Place the outdoor sensor as freely as possible, yet still protected: not directly on a warm house wall, not above dark asphalt, and without direct heat buildup.
Then connect the base station to your home network and check in the manufacturer's app whether all readings are displayed correctly. Once this base runs stably, integrating it into Home Assistant is the next step.
2. Configure the integration in Home Assistant
In Home Assistant, the weather station is normally connected via an integration. Depending on the model, this happens conveniently via the graphical interface or via a YAML configuration. The goal is for all readings to be visible as sensors (entities) in the system.
With DIY solutions, the connection often runs via an MQTT broker. The weather station sends its readings to the broker, and Home Assistant creates the corresponding sensors based on the topics. This way, all relevant entities for your weather-station smart home are created step by step.
3. Visualize weather data on the dashboard
Once the sensors are connected, a dedicated weather dashboard in Home Assistant is worthwhile. Typical elements are:
- current outdoor temperature and humidity,
- rain status and rainfall amount,
- wind speed and direction,
- trend charts for the last hours or days.
This way, you quickly recognize how the local microclimate around your house or apartment is behaving and can adjust your automations in a targeted way.
Typical use cases for a Home Assistant weather station
With a weather station in the smart home, a wide range of useful automations become possible, for example:
- Automatic shading
When it's very warm outside and sunlight increases, shutters or awnings are automatically lowered. - Storm protection
Above a certain wind speed, the awning automatically retracts to prevent damage. - Efficient heating
At mild outdoor temperatures, heating output can be reduced or the heating's flow temperature lowered. - Ventilation control
Combined with indoor sensors, you can determine when ventilating truly makes sense, for example when cooler and drier air prevails outside.
Such processes increase comfort, protect buildings and systems, and at the same time help save energy.
Sensibly combining a smart home weather station and air quality
Things get really exciting when the weather station in the smart home is combined with air quality sensors. While the weather station provides outdoor readings, air quality monitors show what it looks like indoors.
This lets you create automations that respond not just to temperature and weather, but also to CO₂, particulate matter, or other pollutants. Ventilating thus becomes more targeted: not "at some point," but exactly when outdoor conditions are right and the air in the room can actually be improved.
How the air-Q helps in Home Assistant
The air-Q can also be seamlessly integrated into Home Assistant and complements your weather station with important information about indoor air quality. Among other things, the device measures CO₂, particulate matter, volatile organic compounds, and many other indoor air parameters in real time.
Via the existing Home Assistant integration, these values are available as sensors in the system. This lets you create automations that respond simultaneously to outdoor weather and indoor air. Conceivable rules include, for example:
- Only trigger ventilation when the outdoor air quality is better than indoors.
- Automatically switch on the air purifier when particulate matter or certain pollutants exceed a limit value.
- Display alerts in the dashboard when CO₂ is too high and a break or fresh air would make sense.
This way, the air-Q becomes an important building block for a healthy and comfortable smart home. It not only helps make air quality visible, but actively helps improve the indoor climate in everyday life, fully automatically and closely intertwined with your weather station and Home Assistant.